July 2024
How To Build an Ecommerce Store with Shopify, Next js, React three fiber / Three js and GSAP
Create a stunning 3D ecommerce store using Shopify, Next.js 14, React Three Fiber, and Three.js. Step-by-step guide included.
- next js
- ecommerce
- shopify
- fullstack
- three js
- gsap
Hello! Today, we’re going to learn on how to build a super cool online store to showcase a 3D model of a Senseo Philips coffee machine. We’ll use Blender for modeling, Next.js for building our website, Shopify for managing our products, and React Three Fiber with Three.js for the 3D stuff. Ready? Let’s dive in!
Have you ever seen those impressive product design websites / webapps show casing their products to their customers that are immersive, exact replica of their product, realisitc and practical? Some Companies like Apple do it to show their top products like their iphones, headphones, laptops and mac studios.
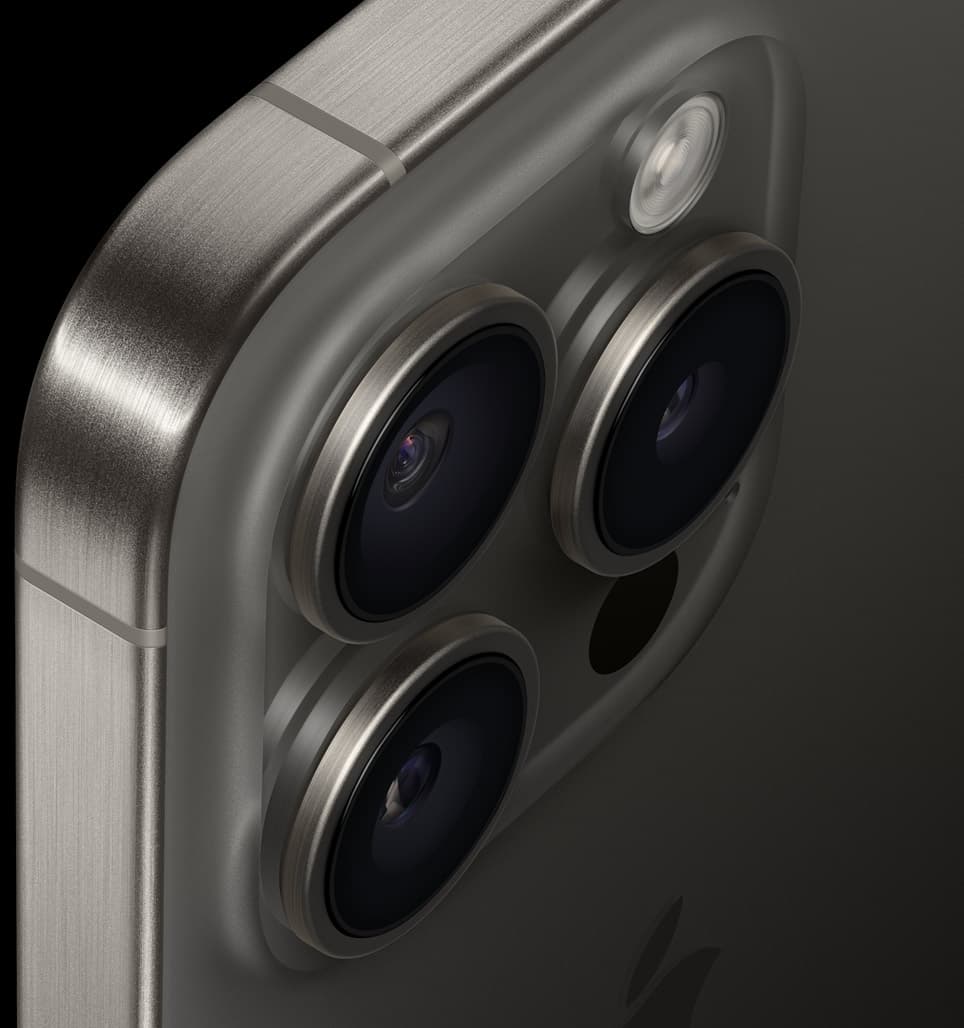
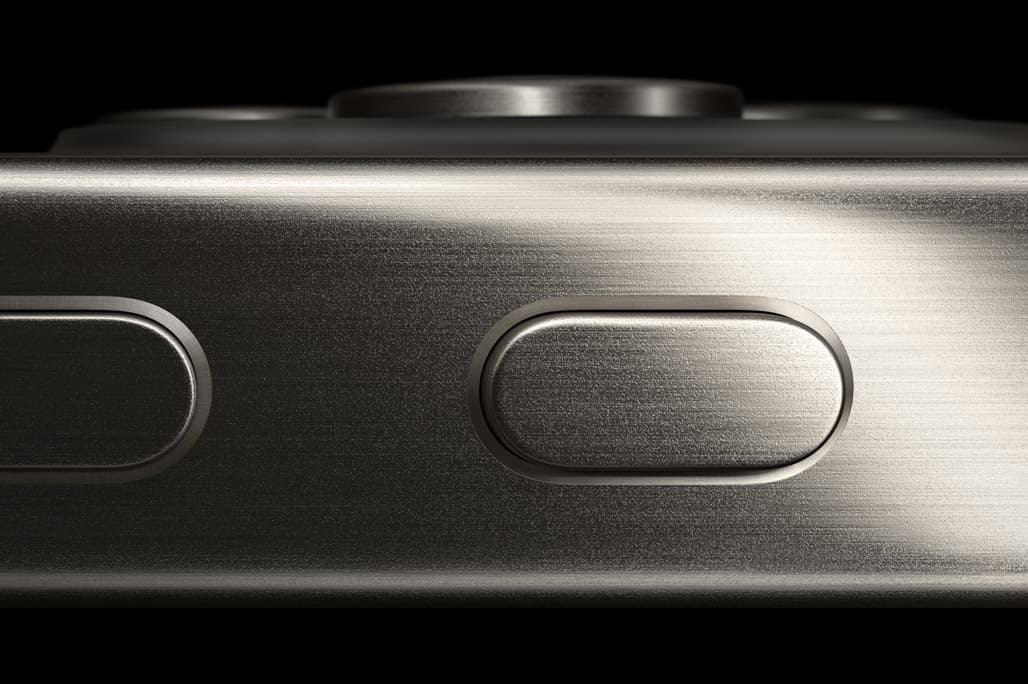
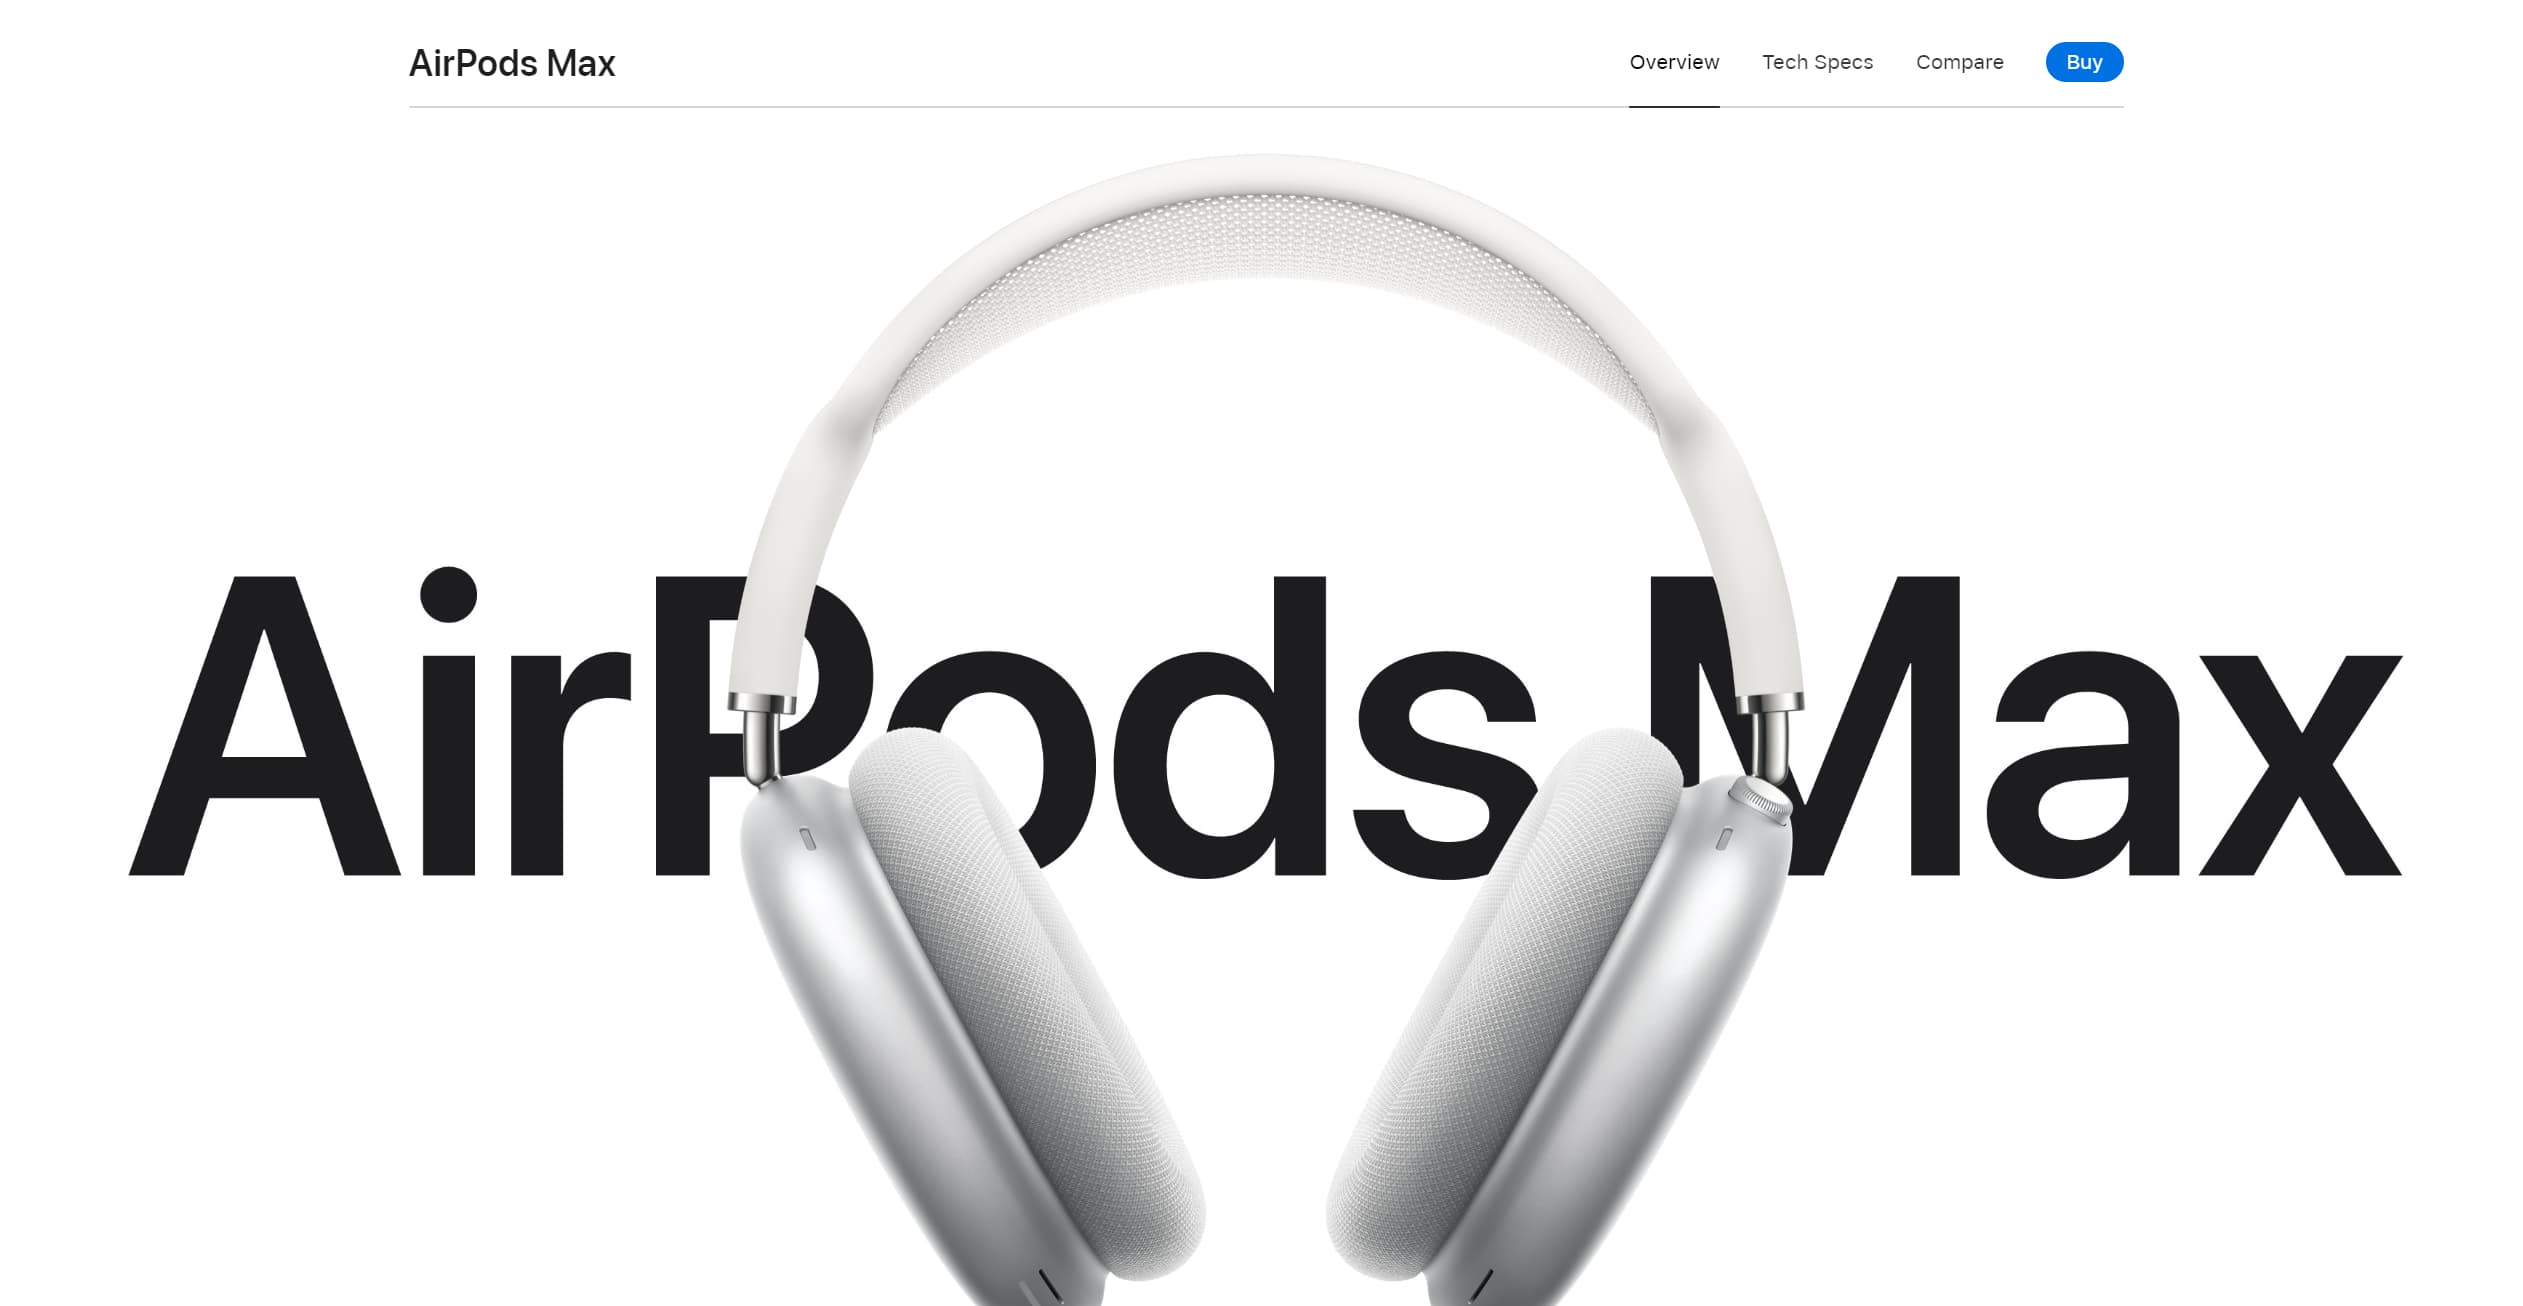
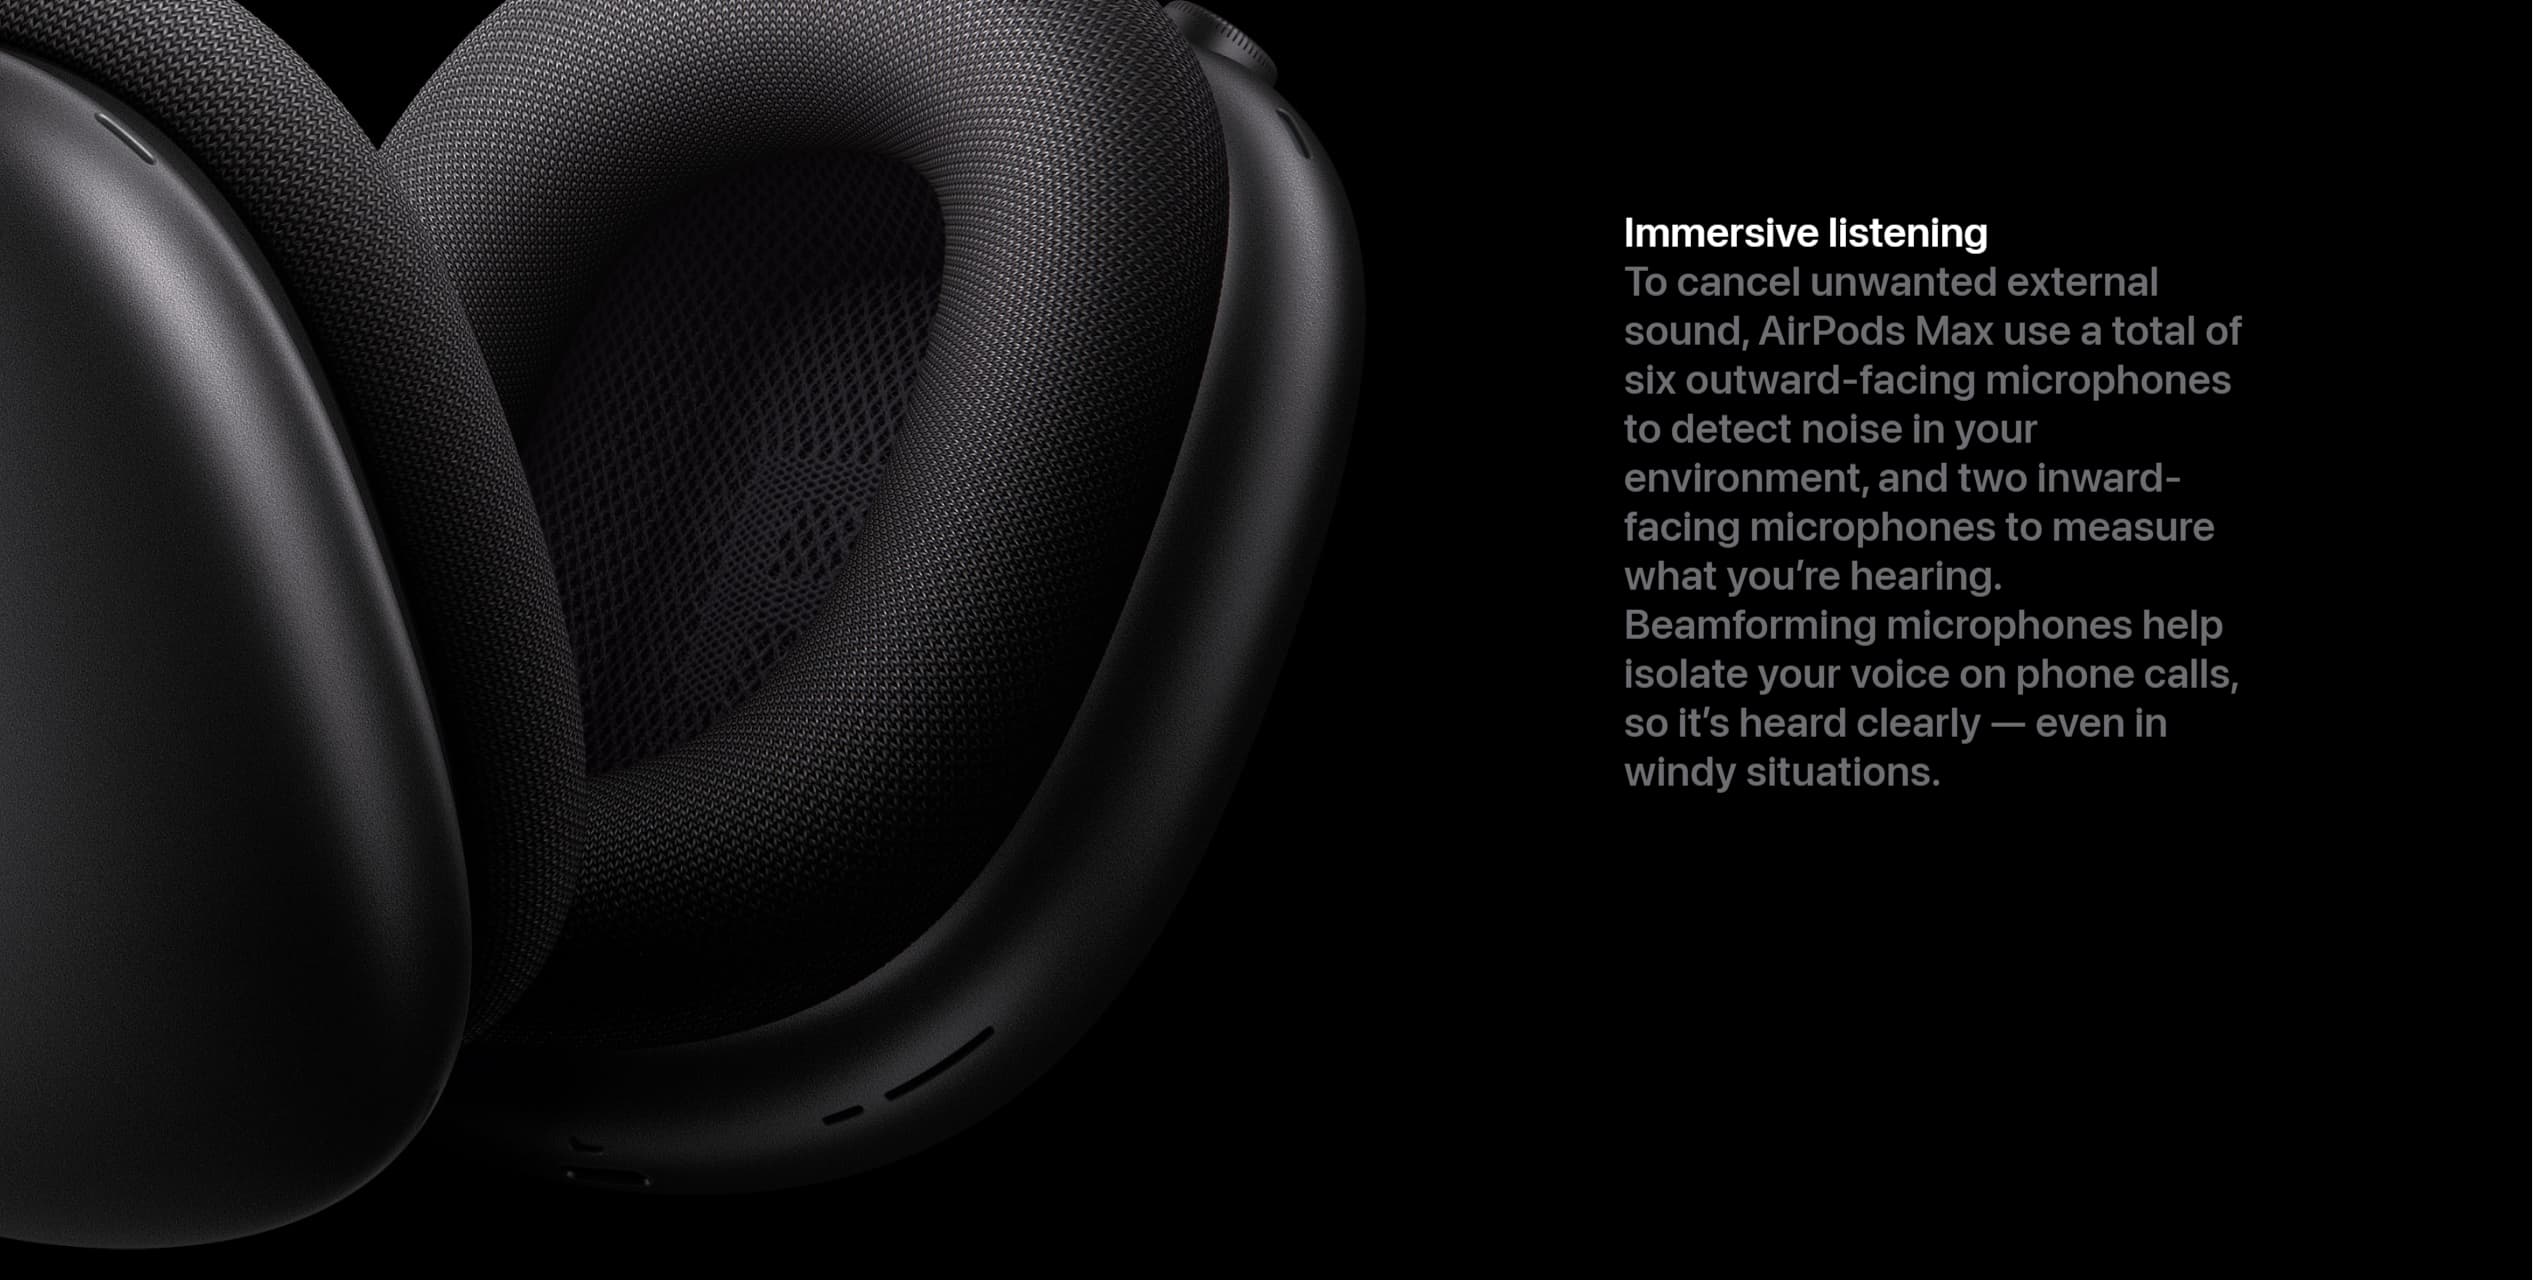
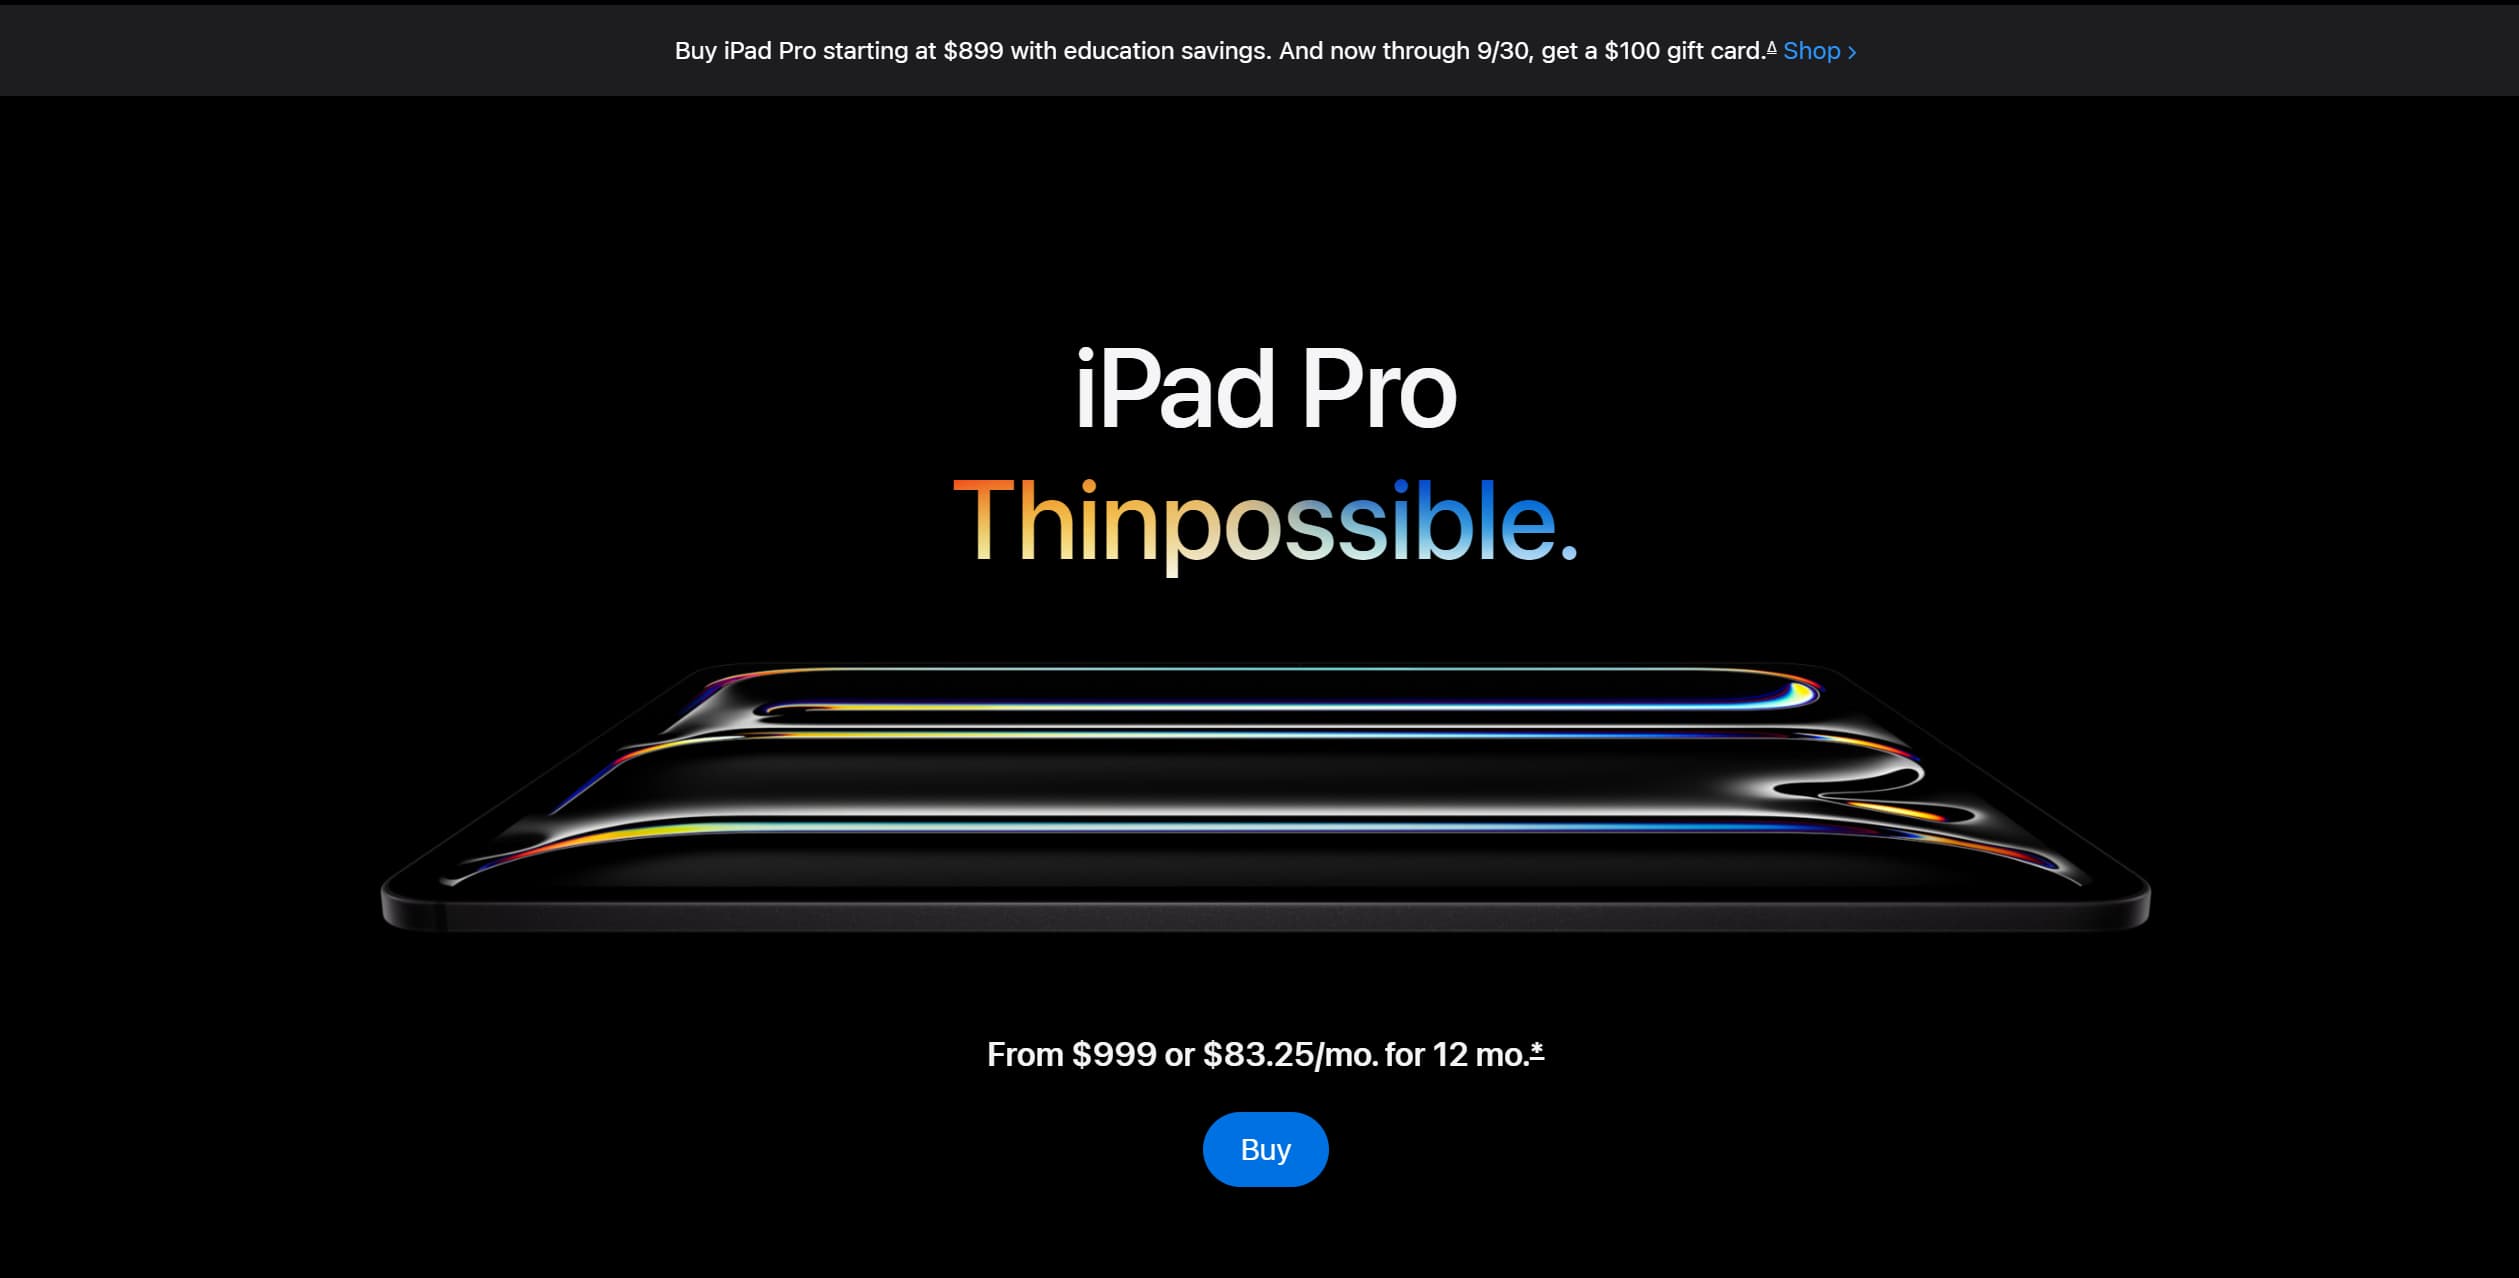
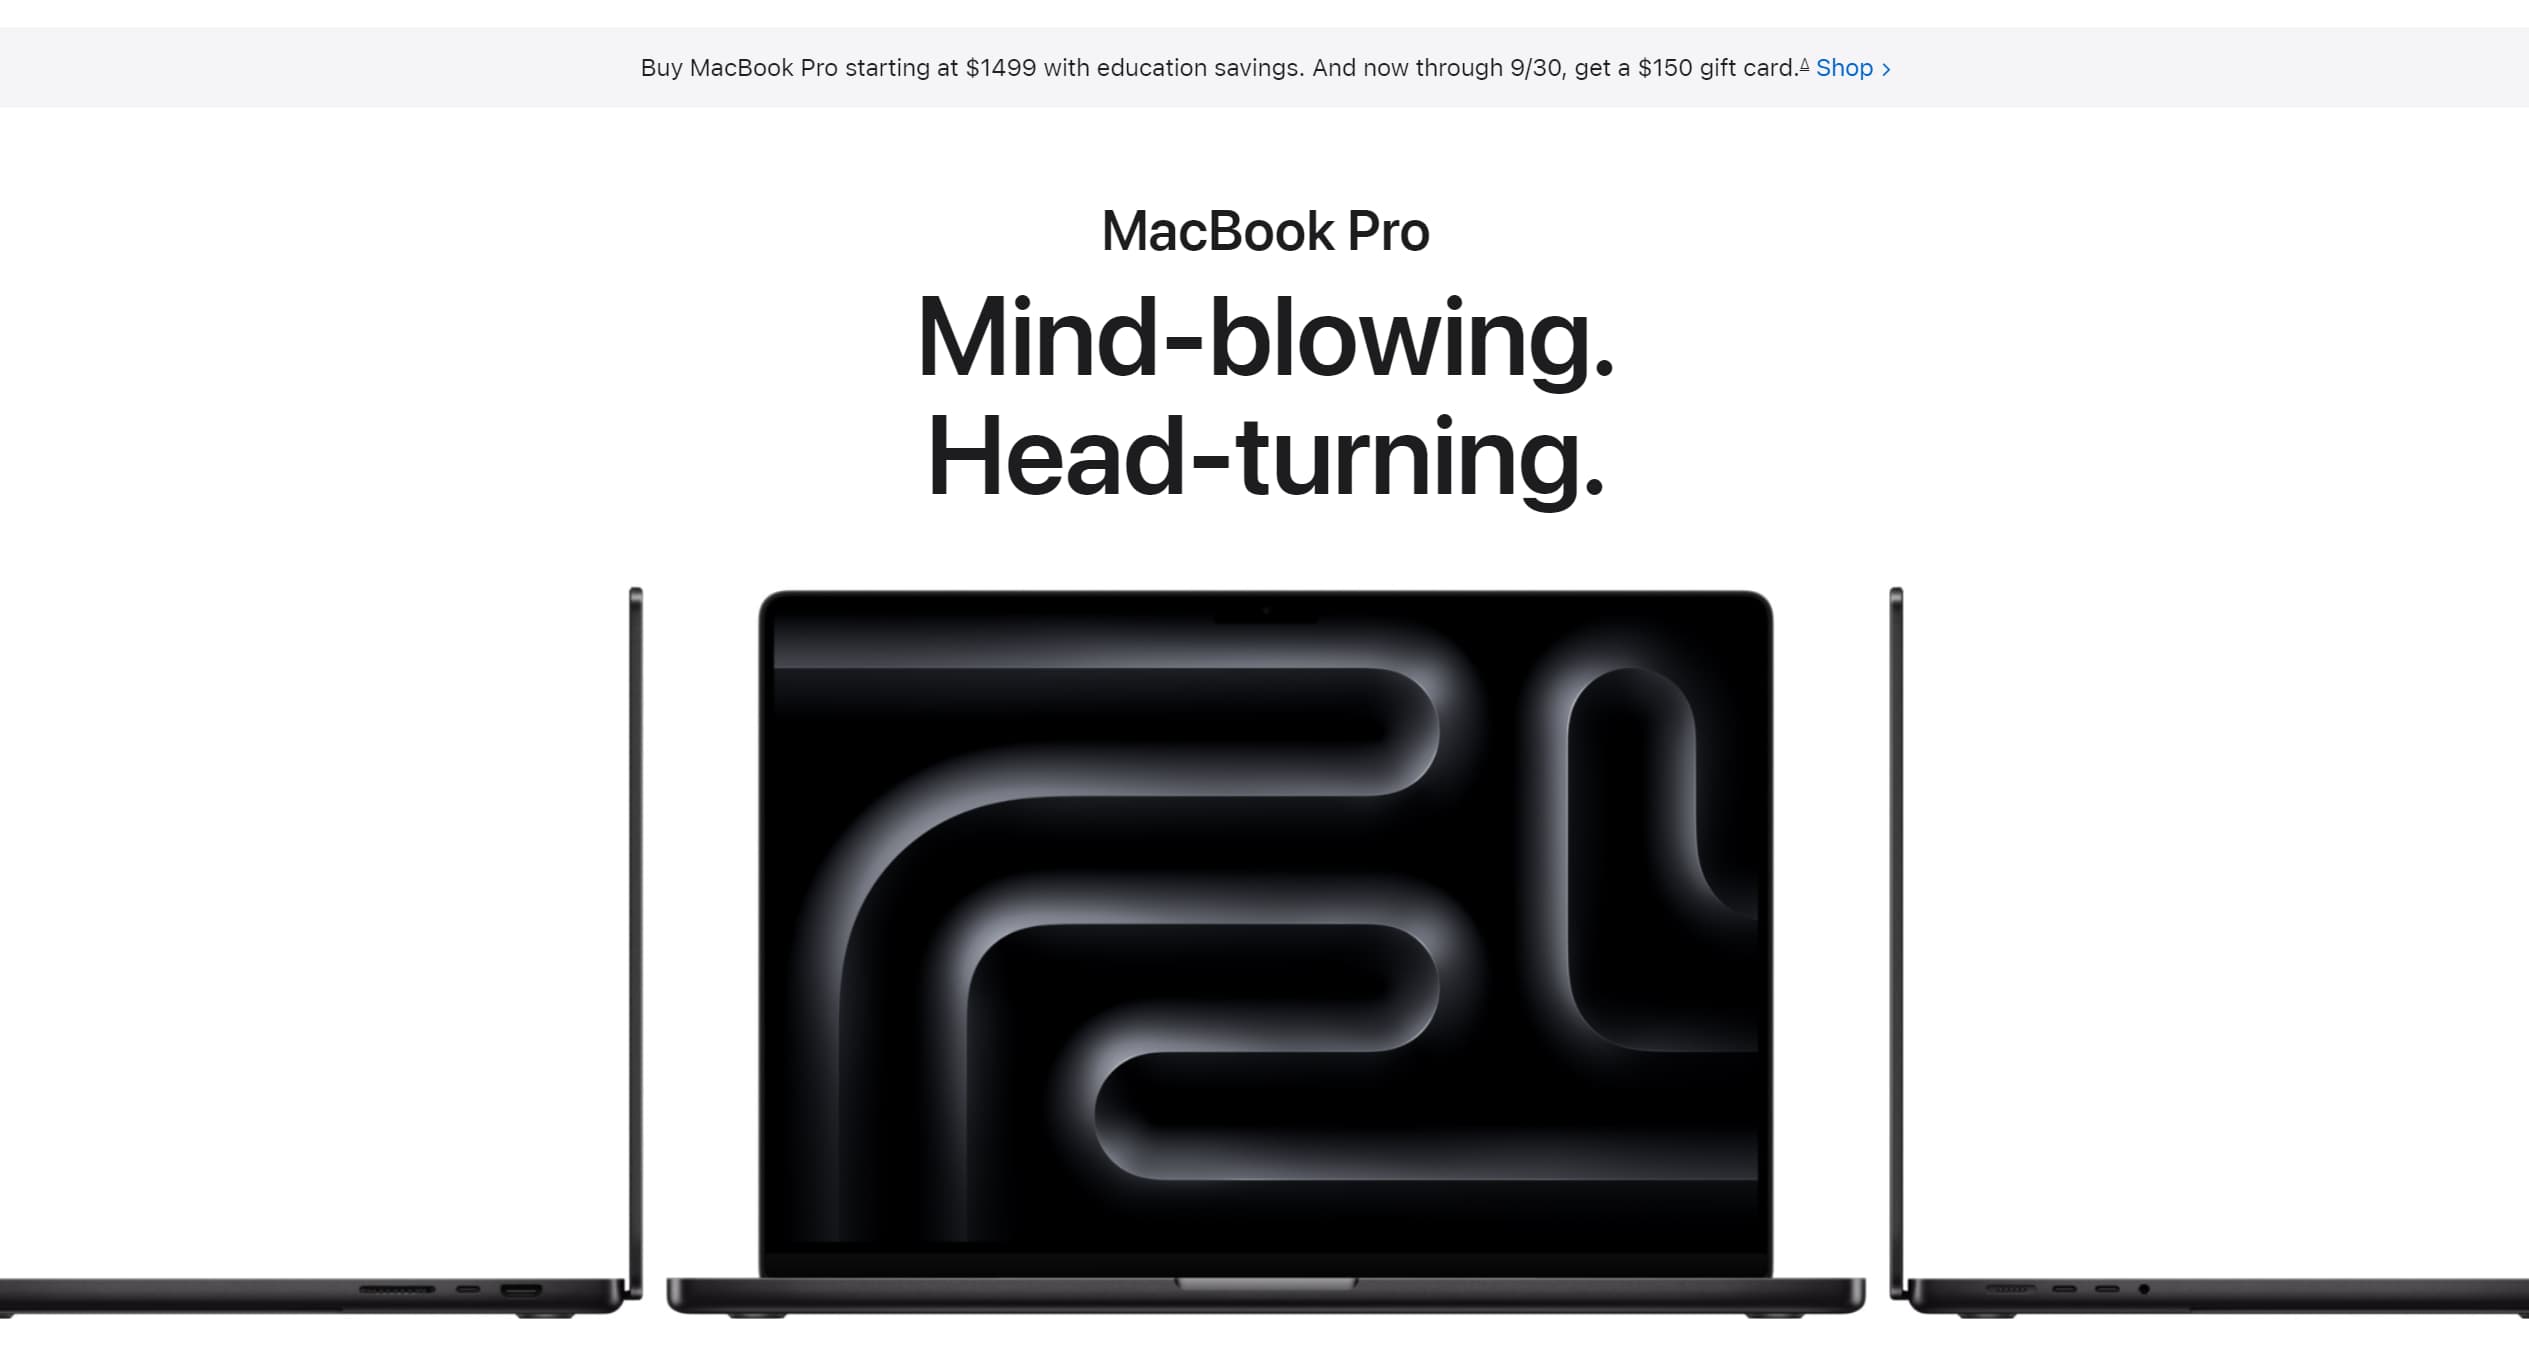
This all are taken from Apple's Website found on Apple.com all credits are owned by Apple!
Turn your product into an interactive 3D experience like this. I design and build high-converting ecommerce sites using Three.js and Shopify.
Start your projectAvailable for freelance • Fast turnaround • Modern stack
Lets do this shall we then
Modeling A 3D Senseo Philips Coffee Machine in Blender 3D
What is Blender 3D?
If you've never heard of blender, must be nice living under a rock! Blender is a free tool to create 2d and 3D models or create animations. It has and is being used to make anything you can imagine in the 2D and 3D world including video editing and compositing. In our case Imagine you’re making a 3D sculpture on your computer!
- Download blender from the official blender page
- Open Blender and start a new project.
- Use the tools in Blender to create your coffee machine model. What ever kind you want you can try it out. Don’t worry if it takes some time – just have fun with it!
if you want to use my 3D model you can download it right here and give it a start while your at it will ya
- Once you’re done, export your model as a .glb file. This is a special format for 3D models.
Setting Up Next.js
1. Create a New Next.js Project
- Open your terminal and run:
npx create-next-app my-ecommerce-store- This sets up a new project with everything you need.
2. Install React Three Fiber, Drei and Three.js
These are the packages we use to display 3D models on the web. Install them by running:
npm install @react-three/fiber three @react-three/dreiIf you have no clue about three js, react three fiber and drei check out this links. They do have comprehensive gides on where to start. I suggest you start of with three js before react three fiber.
Three Js Docs => three.js
R3F Docs => react three fiber
Pmndrs Drei => pmndrs drei
Converting the Model for the Web
Just so we can manipulate the model as we desire, we want to convert the glb file into a jsx component. How do we do that? Well you have two options.
First you can drop the model on the gltf.pmnd website which shows you the model in real time and gives you the sample code which is the jsx we want. You then copy the jsx from the button copy clipboard and paste it inisde your project file.
Second You can use a package called gltfjsx which you manually turn the glb file to jsx on your own local machine.
What is gltfjsx?
It’s a tool that helps us turn our .glb model into a format we can use in our React website.
Use gltfjsx to convert your .glb file into a JSX component. This makes it easier to include the model in our React code.
You can do this by running a command in your terminal (a special program where you type commands):
 npx gltfjsx model.glb
//         ^^^ Source of the glb file
// if your using typescript add types too
To read more about this check out this repo on github gltfjsx
Displaying the 3D Model
Weather you have copied from the gltf.pmnd website or used gltfjsx command to get the model in jsx format you have to:
- In your Next.js project, create a new component to hold your 3D model.
- Import React Three Fiber and your converted JSX model.
- Use these tools to set up a scene and add your model to it.
import { Canvas } from "@react-three/fiber";
import CoffeeMachineModel from "./CoffeeMachineModel";

function CoffeeMachine() {
  return (
    <Canvas>
      <ambientLight />
      <pointLight position={[10, 10, 10]} />
      <CoffeeMachineModel />
      // ^^^^jsx component extracted from the glb model
    </Canvas>
  );
}

export default CoffeeMachine;- The CoffeeMachineModel looks something like this
import * as THREE from "three";
import React, { useEffect, useRef } from "react";
import { useGLTF, useTexture } from "@react-three/drei";
import { GLTF } from "three-stdlib";

type GLTFResult = GLTF & {
  nodes: {
    Cylinder001: THREE.Mesh;
    Cylinder001_1: THREE.Mesh;
    Cylinder005: THREE.Mesh;
    Cylinder005_1: THREE.Mesh;
    main_body_black_All_Baked: THREE.Mesh;
  };
  materials: {
    ["Body upper.001"]: THREE.MeshStandardMaterial;
    plastic: THREE.MeshPhysicalMaterial;
    ["plastic.002"]: THREE.MeshPhysicalMaterial;
    ["BAKED BLACK"]: THREE.MeshStandardMaterial;
  };
};

export default function Model(props: JSX.IntrinsicElements["group"] | any) {
  const { nodes, materials } = useGLTF(
    "/model/coffeemachinemodel.glb",
  ) as GLTFResult;

  return (
    <group {...props} dispose={null}>
      <group name="Scene">
        <group
          name="back_water_holder"
          position={[0.064, 2.73, 0.526]}
          rotation={[0, 1.567, 0]}
        >
          <mesh
            name="Cylinder001"
            castShadow
            receiveShadow
            geometry={nodes.Cylinder001.geometry}
            material={materials["Body upper.001"]}
          />
        </group>
        // .....
      </group>
    </group>
  );
}

useGLTF.preload("/model/coffeemachinemodel.glb");-
Now you need to style the canvas to view the model
you can style it using inline styling or target it with classname or if your using tailwindcss do as want but copy this style or the canvas won't show the model on the dom. You can style it to your own liking.
canvas {
  display: fixed;
  width: '100%';
  height: '100vh';
  top: 0;
  left: 0;
  overflow: hidden;
  background: black;
}
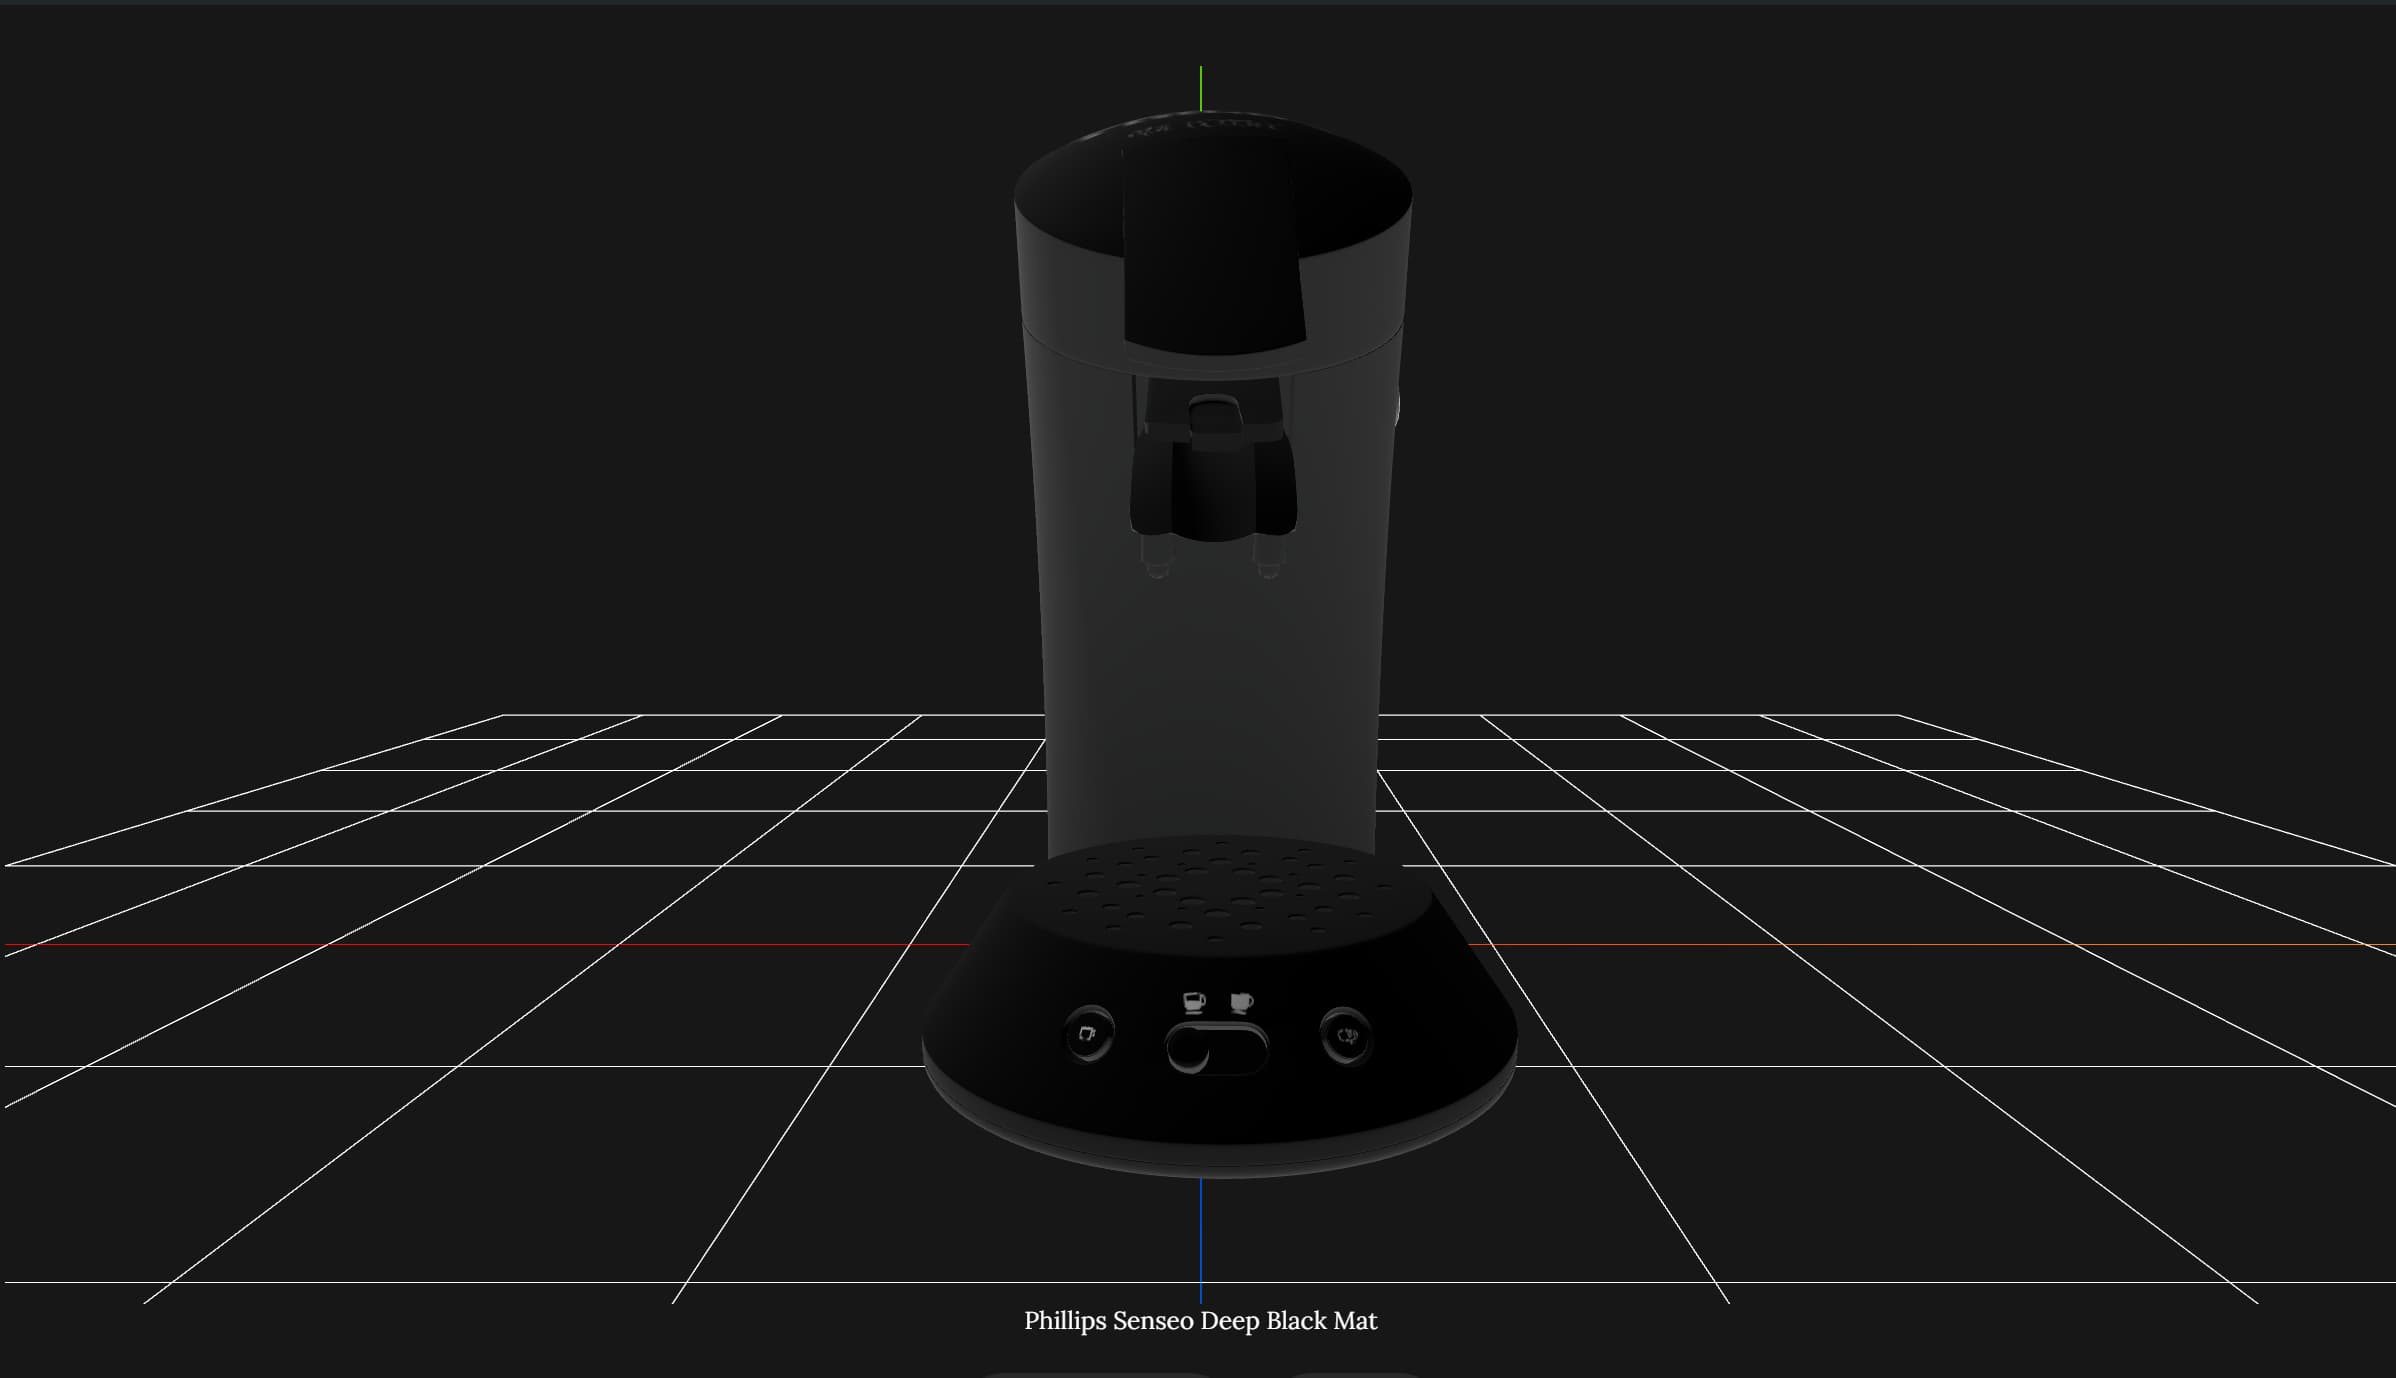
if you want helpers to see the model in a grid just like one in blender you can add custom helpers in the CoffeeMachine component
<gridHelper args={[10, 10, 0xff0000, 'white']} rotation-y={Math.PI / 2} />
<axesHelper args={[10]} />
if you want to Rotate, zoomIn and zoomOut and Pan you should add OrbitControls from @react-three/drei inside your CoffeeMachine Componenet
<OrbitControls
  makeDefault
  enableZoom={false}
  rotateSpeed={0.4}
  target={new THREE.Vector3(0, 0.9, 0)}
  // ^^ where to look at, default is (0,0,0)
/>
Adding Animation with GSAP
What is GSAP?
GSAP is a library that makes it easy to animate things on the web. Animate Your Model:
Install GSAP by running:
npm install gsap @gsap/reactUse GSAP to add cool animations to your model. For example, you can make parts of the coffee machine move or spin on scroll or when enter on page.
import gsap from "gsap";

useEffect(() => {
  gsap.to(".part", { rotation: 360, duration: 2 });
  //      ^^ target
}, []);
if you want more detail using their new api with react i recommend viewing their docs at gsap-react
Integrating with Shopify
What is Shopify?
Shopify is a platform that helps you manage your products and sell them online.
Set Up Shopify:
- Create a Shopify account at Shopify partner account
- Create a Shopify development store
- Generate a Storefront API access token to authenticate your API requests and start querying the store data using GraphQL.
- Create a new Shopify app. Check "Allow this app to access your storefront data using using the Storefront API".
- Add your coffee machine as a product. This can be pictures on the product section of shopify app.
- Use Shopify’s API to connect your Next.js website with your Shopify store. This lets you display product information and handle sales.
If your having problems creating a custom app inside your shopify store please check this docs on their help center custom-apps
After creating a custom app inside the store and naming it whatever you desire we want to access this store from our next js application, so how do we do that?
- we have to get the generated Shopify access token and the domain of the store to an .env.local file in your newly created application;
SHOPIFY_STOREFRONT_ACCESS_TOKEN = "your-token";
SHOPIFY_STORE_DOMAIN = "your-store.myshopify.com";
Great now we can access our store from our next js application, so whats next?
well we can fetch our products info like prices, title, tags and so on using GraphQL.
- create a folder named shopify for our functions to fetch our quries where we can call later inside our pages.
export const isShopifyError = (error: unknown): error is ShopifyErrorLike => {
  if (!isObject(error)) return false;

  if (error instanceof Error) return true;

  return findError(error);
};

export async function shopifyFetch<T>({
  cache = "force-cache",
  headers,
  query,
  tags,
  variables,
}: {
  cache?: RequestCache;
  headers?: HeadersInit;
  query: string;
  tags?: string[];
  variables?: ExtractVariables<T>;
}): Promise<{ status: number; body: T } | never> {
  try {
    const result = await fetch(endpoint, {
      //                     ^^ we will fill this endpoint later on
      method: "POST",
      headers: {
        "Content-Type": "application/json",
        "X-Shopify-Storefront-Access-Token": key,
        ...headers,
      },
      body: JSON.stringify({
        ...(query && { query }),
        ...(variables && { variables }),
      }),
      cache,
      ...(tags && { next: { tags } }),
    });

    const body = await result.json();

    if (body.errors) {
      throw body.errors[0];
    }

    return {
      status: result.status,
      body,
    };
  } catch (e) {
    if (isShopifyError(e)) {
      throw {
        cause: e.cause?.toString() || "unknown",
        status: e.status || 500,
        message: e.message,
        query,
      };
    }

    throw {
      error: e,
      query,
    };
  }
}
When making requests your endpoint should be like
https://{store_name}.myshopify.com/admin/api/2024-07/graphql.json
^^ the store name you gave when creating your store
what i usually do is store this api endpoint inside a enviroment variable like this
export const SHOPIFY_GRAPHQL_API_ENDPOINT = '/api/2024-04/graphql.json';Then call it when i need to fetch the api endpoint
const domain = process.env.SHOPIFY_STORE_DOMAIN;
const endpoint = `${domain}${SHOPIFY_GRAPHQL_API_ENDPOINT}`;
now the endpoint can be used in our shopifyfetch function that was used on our above function
If you want to get more into what fields you can access from the shopify admin panel shopify has an extensive doc for this case you should check out admin-graphql and endpoints.
- Now since you are fetching your products on your page now its upto you to style it as you like.
- Use Next.js to create pages for your store, like a homepage and a product page.
- Since we have Added the 3D model to the product page and make it look awesome by styling it alltogether, make sure the position of the canvas doesn't overlap with your other components or pages so be mindful how use positions.
Test and Deploy
- Test your website to make sure everything works.
- Deploy your website so everyone can see it. You can use services like Vercel or Netlify for this. You can use other services as well.
Conclusion
Congratulations! You’ve built an amazing 3D ecommerce store using Blender, Next.js, React Three Fiber, Three.js, and Shopify. Now, anyone can visit your site and see your cool 3D model of the Senseo Philips coffee machine. Keep experimenting and have fun building more awesome projects!